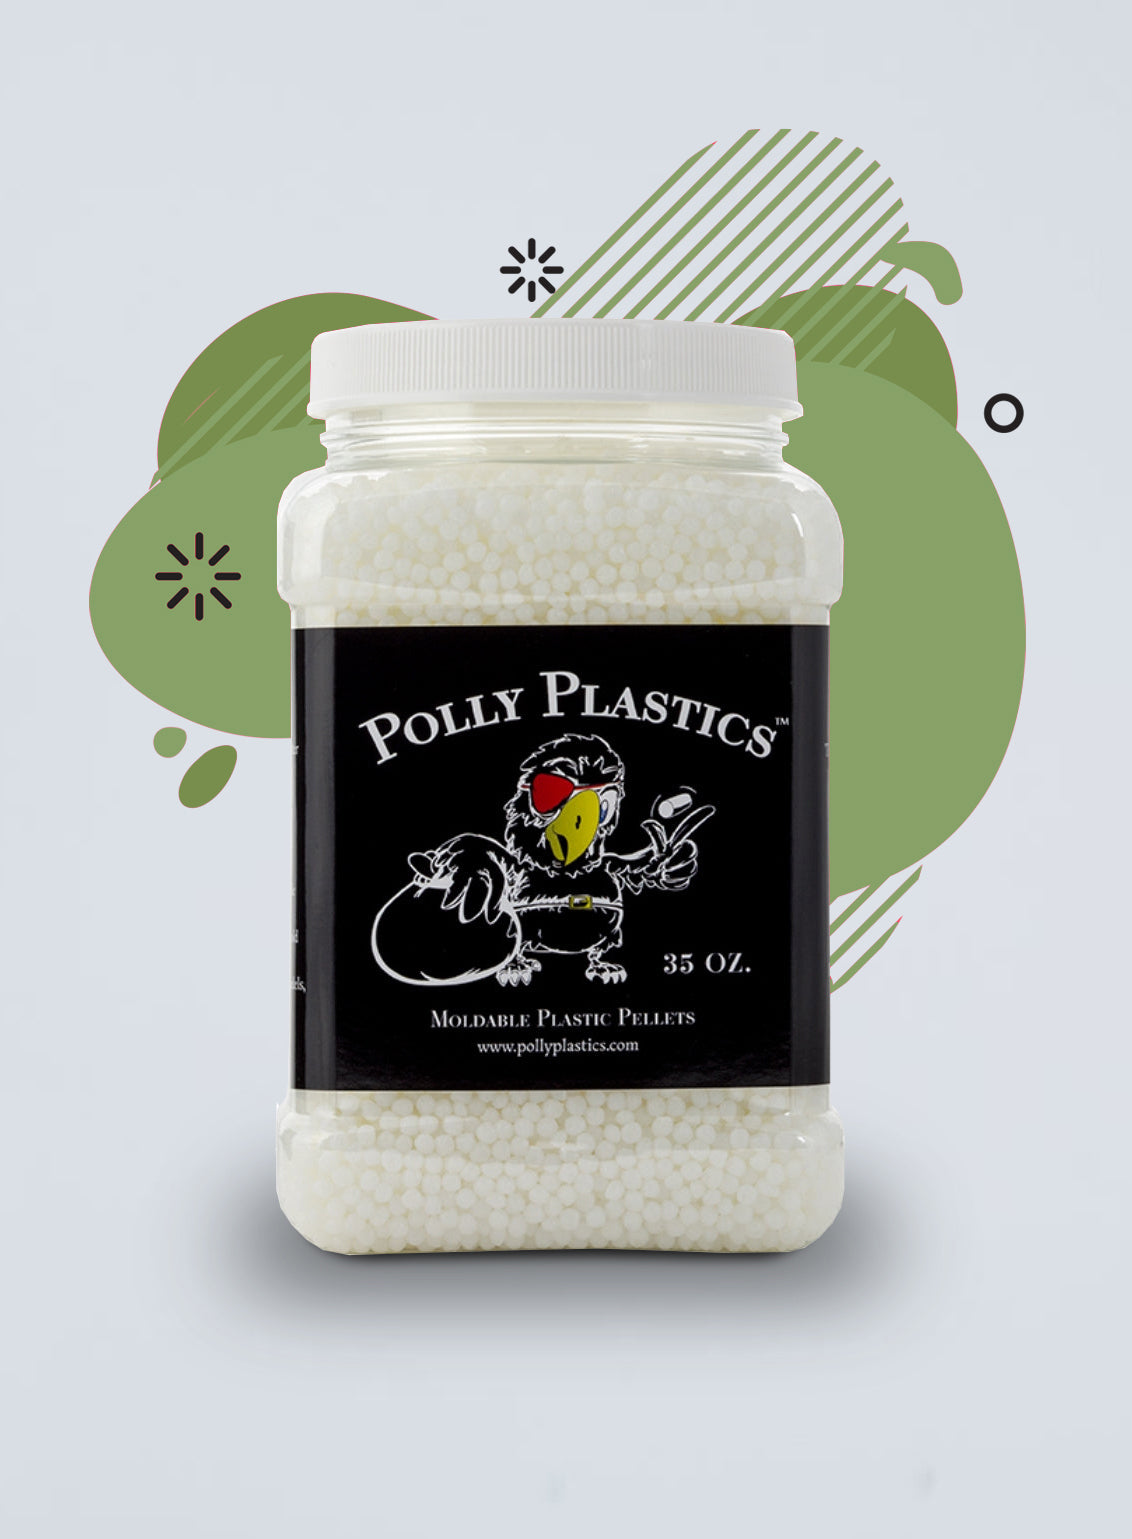
Using a microwave or stovetop, heat water in a bowl or pan to above 150 degrees F. If the water is boiling, allow it to cool to prevent possible injury. You can heat the water with the desired amount of Polly Plastics Moldable Pellets in it, add the hot water to the pellets or drop the pellets into the hot water. If you are making a larger part, you may find it useful to start with a smaller number of pellets and gradually build up your part. You can also use a heat gun if you prefer.
After a few minutes in hot water, the pellets will turn completely clear and begin sticking to each other.
Being very cautious to avoid burns, remove the pellets with tongs or a spoon and shake off any excess water. If you are sensitive to heat, wear heat resistant gloves. A sheet of parchment paper makes a great surface to work on, preventing sticking. Take care that the hot plastic doesn’t stick to things you don’t want it to such as certain plastics (acrylic, vinyl, PVC, polystyrene, polyesters, ABS), fingernail polish, fabrics or metal.
With clean hands, begin forming the pellets into your desired shape. You can use your hands, craft with tools, apply onto existing objects or press into molds you have prepared. You can use a heat gun to make final touches. The hot plastic will be harder to work with as it cools within a few minutes. You can always re-heat parts of it to make it more moldable again.
For color, use Polly Plastics Color Pellets. Or add paint powders or alcohol inks (found at craft stores like Michaels or Hobby Lobby) into the hot pellets while you are working them. Or you can paint the part after it cools with acrylic paints or permanent markers. Without coloring, the part will be white. Spraying on a coat of primer for plastics will help adhesion and you can spray on varnish after painting to prevent flaking.
Let your part completely cool to take a strong, permanent shape. Cover it with cold water or place in the freezer if you want to speed up the process. If you don’t like the outcome, re-heat and mold again.
Once cooled, you can sand, drill, varnish or paint the part you have made. You can also use a super glue to attach the part to other things.
Avoid placing your finished parts in places that get very hot e.g. inside of your car on a hot day.
Moldable Plastic Sheets Usage Instructions
Use heat to soften the plastic above 150 degrees F. Most people use a heat gun but you can also use hot water. Heat water in a pot or pan to above 150 degrees F. using a microwave or stove and place the sheet in the hot water to soften. If the water is boiling, allow it to cool to prevent possible injury.
If you prefer to melt only part of the sheet, you can cut it with a shears or even a scissors.
When the plastic sheet turns clear, it is soft enough to form and mold.
Being very cautious to avoid burns, remove the sheet with tongs, spoon or fork and shake off any excess water. If you are sensitive to heat, wear heat resistant gloves. A sheet of parchment paper or glass dish makes a great surface to work on, to prevent sticking. Take care that the hot plastic doesn’t stick to things you don’t want it to such as certain plastics (acrylic, vinyl, PVC, polystyrene, PET, ABS), fingernail polish, fabrics or metal.
With clean hands, begin forming the sheet into your desired shape. You can use your hands, craft with tools, or apply onto existing objects. You can use a heat gun to make final touches. The hot plastic will be harder to work with as it cools within a few minutes. You can always re-heat parts of it to make it more moldable again.
You can join sheets together by heating the surface of the sheet and attaching another sheet to it – either on top of it or beside it.
For color, use Polly Plastics Color Pellets. Or add paint powders or alcohol inks (found at craft stores like Michaels or Hobby Lobby) into the hot sheets while you are working them. Or you can paint the part after it cools with acrylic paints or permanent markers. Without coloring, the part will be white. Spraying on a coat of primer for plastics will help adhesion and you can spray on varnish after painting to prevent flaking.
Let your part completely cool to take a strong, permanent shape. Cover it with cold water or place in the freezer if you want to speed up the process. If you don’t like the outcome, re-heat and mold again.
Once cooled, you can sand, drill, varnish or paint the part you have made. You can also use a super glue to attach the part to other things.
Avoid placing your finished parts in places that get very hot e.g. inside of your car on a hot day.
Moldable Plastic Strips Usage Instructions
Heat water in a pot or pan to above 150 degrees F. using a microwave or stove. If the water is boiling, allow it to cool to prevent possible injury. Place desired number of strip(s) into the hot water to soften. You can also use a heat gun or hair dryer if you prefer.
If you prefer to melt only part of the strip, you can cut it with a shears or even a scissors.
After a few minutes in hot water, the strip(s) will turn completely clear and be ready to mold.
Being very cautious to avoid burns, remove the strip(s) with tongs, spoon or fork and shake off any excess water. If you are sensitive to heat, wear heat resistant gloves. A sheet of parchment paper or glass dish makes a great surface to work on, to prevent sticking. Take care that the hot plastic doesn’t stick to things you don’t want it to such as certain plastics (acrylic, vinyl, PVC, polystyrene, PET, ABS), fingernail polish, fabrics or metal.
With clean hands, begin forming the strip(s) into your desired shape. You can use your hands, craft with tools, or apply onto existing objects. You can use a heat gun to make final touches. The hot plastic will be harder to work with as it cools within a few minutes. You can always re-heat parts of it to make it more moldable again.
You can join strips together by heating the surface of the strip and attaching another strip to it – either on top of it or beside it.
For color, use Polly Plastics Color Pellets. Or add paint powders or alcohol inks (found at craft stores like Michaels or Hobby Lobby) into the hot strips while you are working them. Or you can paint the part after it cools with acrylic paints or permanent markers. Without coloring, the part will be white. Spraying on a coat of primer for plastics will help adhesion and you can spray on varnish after painting to prevent flaking.
Let your part completely cool to take a strong, permanent shape. Cover it with cold water or place in the freezer if you want to speed up the process. If you don’t like the outcome, re-heat and mold again.
Once cooled, you can sand, drill, varnish or paint the part you have made. You can also use a super glue to attach the part to other things.
Avoid placing your finished parts in places that get very hot e.g. inside of your car on a hot day.
How to Melt Moldable Plastics
How to Use Our Moldable Plastic Color Pellets
Using Our Moldable Plastic Sheets to make a fidget spinner