During a trip to Northern Michigan at the end of October 2020, my friend and I stopped at the beach in Charlevoix, MI to do a quick hunt for Petoskey stones. We didn’t have much time to look, but I found one good sized rock that kind of looked like there were dotted colors under the rough, dried out surface.
I don’t have a rock tumbler, so I watched a couple of YouTube videos on how to hand polish rocks, like How to Hand Polish a Petoskey Stone - YouTube by Michigan Rocks.
Running the water under water still did not reveal what kind of rock I had and I was curious, so I went to the local auto store to find the wet/dry sand paper used to reveal the shine of my rock and started scrubbing. My pack of sand paper didn’t have exactly the same grit options as what was featured in the video, but I decided to work with what I had, which was 80, 320, 400, and 600, and 1,000 grits.
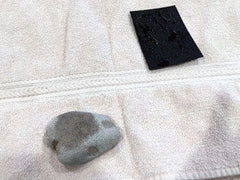
Per the video’s instructions, I started with the 80 grit sand paper by getting it wet and starting to scrub the rock over a towel. The dry, rough, grey outer lining started to disappear quickly and I realized that I did not have a coveted Petoskey stone, but a brownish rock with some dotted color to it. This first step only lasted about 5 minutes as I focused only on the top of the rock. I should have focused a little longer on some of the impressed dots, but with it being my first time, I didn’t know how much sanding it took. I’ll have a better understanding for when I find my future Petoskey stone.
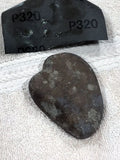
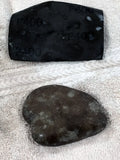
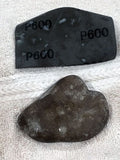
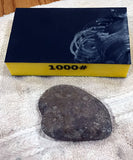
I followed up with each of the following sand paper grits by getting it wet and scrubbing over a towel, spending several minutes on each stage. The unremarkable stone got progressively smoother and shinier.
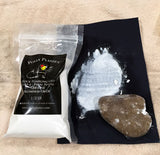
The final stage was exciting using Polly Plastics Stage 4 Rock Tumbling Polish. I only used a couple of teaspoons on a wet piece of canvas. The video suggested using denim, but I didn’t have any, so I worked with what I had. The rock was pleasantly shined up and so smooth that I took it to work to have as a stress reliever.
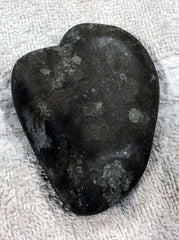
It is easy to polish by hand, but there is a learning curve to knowing the level of smoothness, so learn from my mistake and really get into the impressed areas. UPDATE: When discussing this blog topic and completed article with the owner of Polly Plastics, he suggested that I could have used all of their 4 grit stages, 60/90, 180/220, 500 and then the 1200 polish. As I was following the video instructions, I had not considered doing this, but I will for next time! Stay tuned... Let us know if you have any questions.


Leave a comment: